Vulkan Graphics API Online Tutorial
Type: Demo
Source: Personal Project
Language: C++
I started to develop an interest in graphics programming when I was in university when I took my initial OpenGL course. I really liked having some visual feedback to the code I was writing. I also liked the aspect of real-time programming where you need to keep your logic optimized and short so it can run within 16.67ms for a good refresh rate.
After I got into some game programming projects (both at the professional level and hobby level) I wanted to look into how game engines *(Unity3D, Unreal Engine, Godot) handled the rendering systems they needed to send the results of the game logic on screen so the player can see what is happening. At that point, I only knew some OpenGL and the names of some alternatives to OpenGL: Direct X, Vulkan and Metal.
Later, I went through some tutorials to learn the basics of DirectX 11 (see here) and how it can use the graphics hardware to process algorithms in parallel and get better performance for graphics centric work.
After learning a Microsoft specific graphics API, I was interested to move onto learn another one that I could use on a variety of operating systems. I also wanted to test out a new development environment away from Visual Studio. I downloaded Neovim (since I have been using vim mappings in Visual Studio for years now), CMake, Ninja and the Vulkan API to see what I could do with these tools. I was very positively surprised by how easy it was to customize the development experience using Neovim. I also was pretty happy with what I was able to do with CMake and Ninja for building my code. Finally I went to vulkan-tutorial in order to learn how to use this API.
This tutorial helped me a lot to realize just how many steps there are to go from having a 3D scene described in C++ to this scene represented on screen. I found this tutorial also very helpful to show every step in good details to setup Vulkan to go through these steps. After working for some days on this, I learned a lot about:
- All the different rendering stages:
- Fixed function stages configuration.
- Programmable stages, shaders (compute, vertex, fragment).
- How to compile GLSL shaders to SPV byte code and load them.
- Just how much needs to be described to create a graphics pipeline.
- How to setup validation layers to help debugging Vulkan applications.
- How to work with Vulkan extensions and describe which ones to enable for our project.
- Interface the output of Vulkan graphics pipeline to a GLFW surface on Windows.
- How pixel formats work and how they are defined in the Vulkan context.
- How to visualize the hardware with the different queue families available to us.
- How color blending happens toward the end of the pipeline
- How multisampling can happen in Vulkan applications
- How to use synchronization objects (semaphores, fences) within a graphic pipeline or between GPU and CPU.
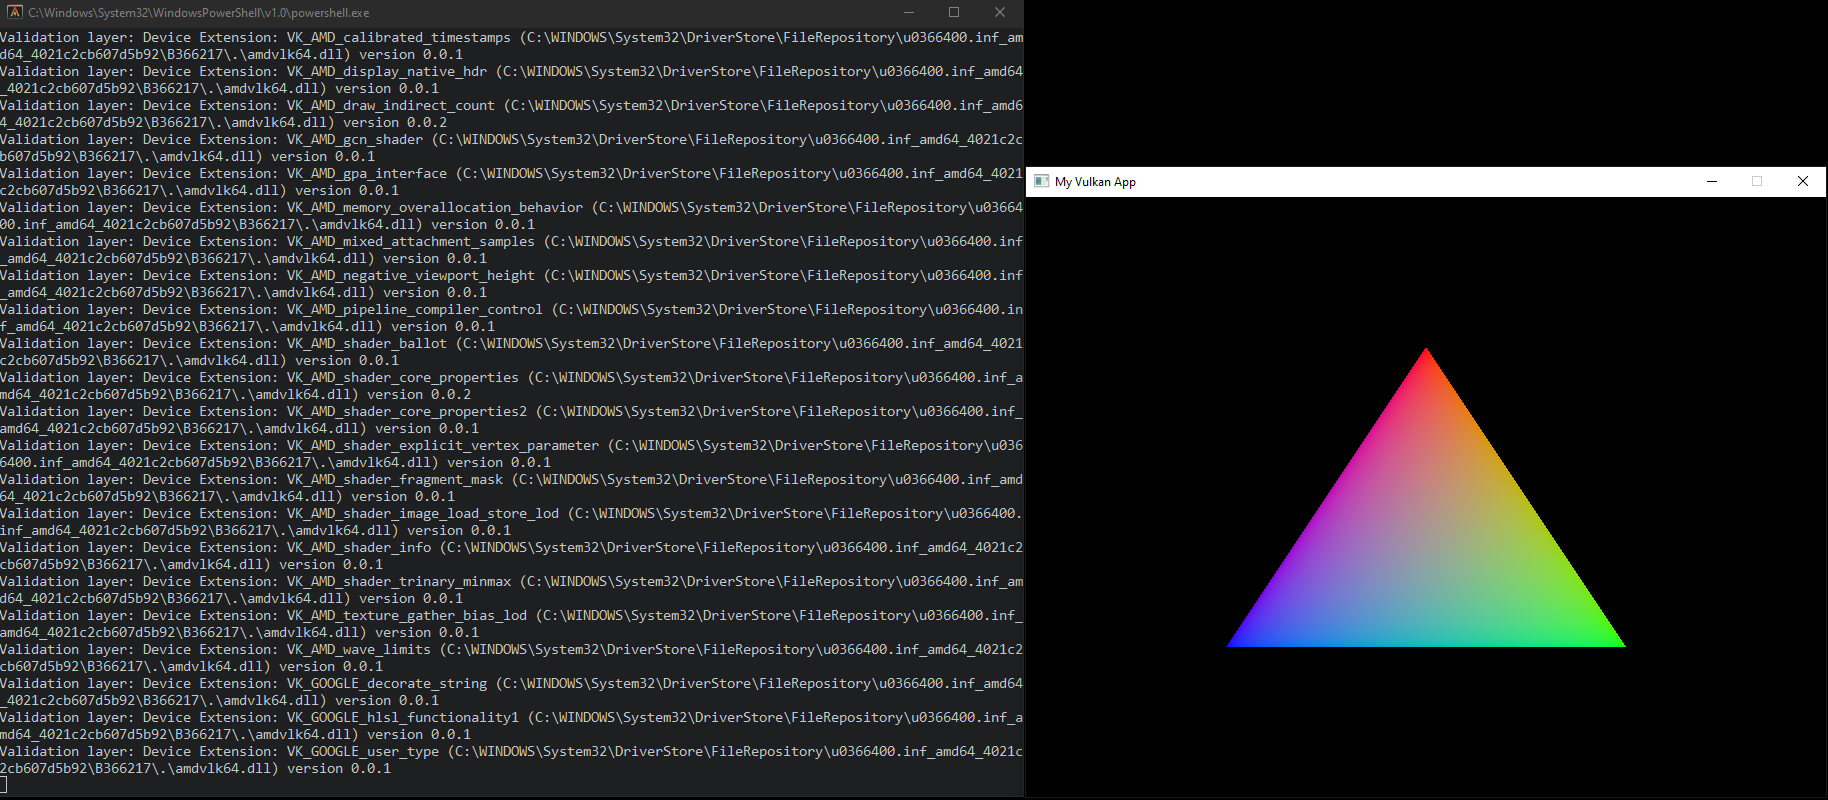
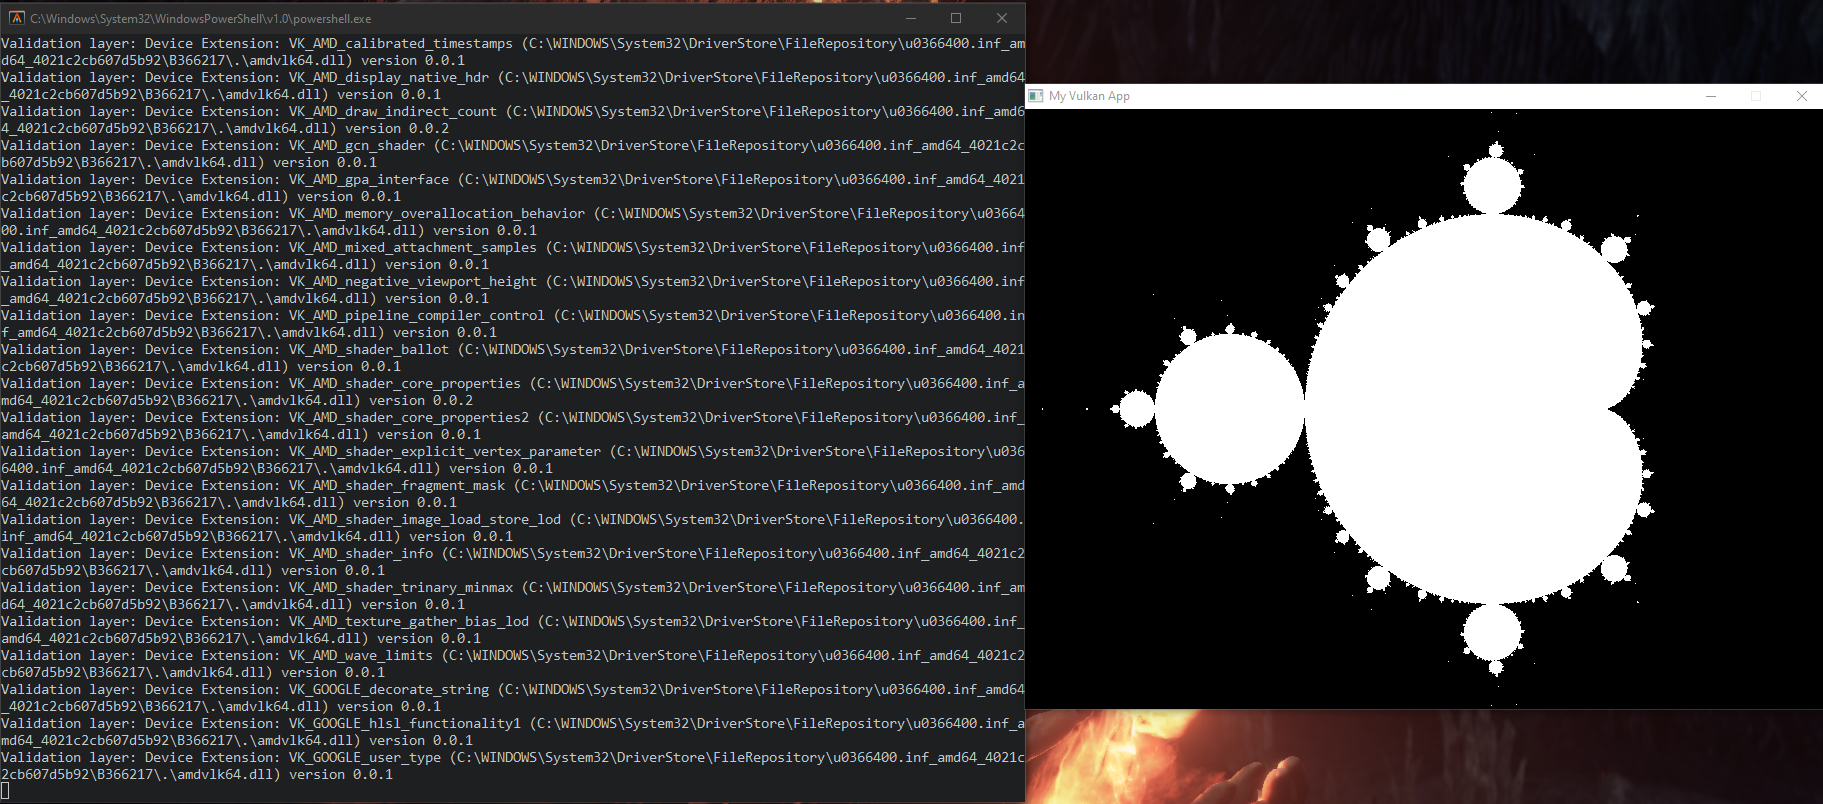
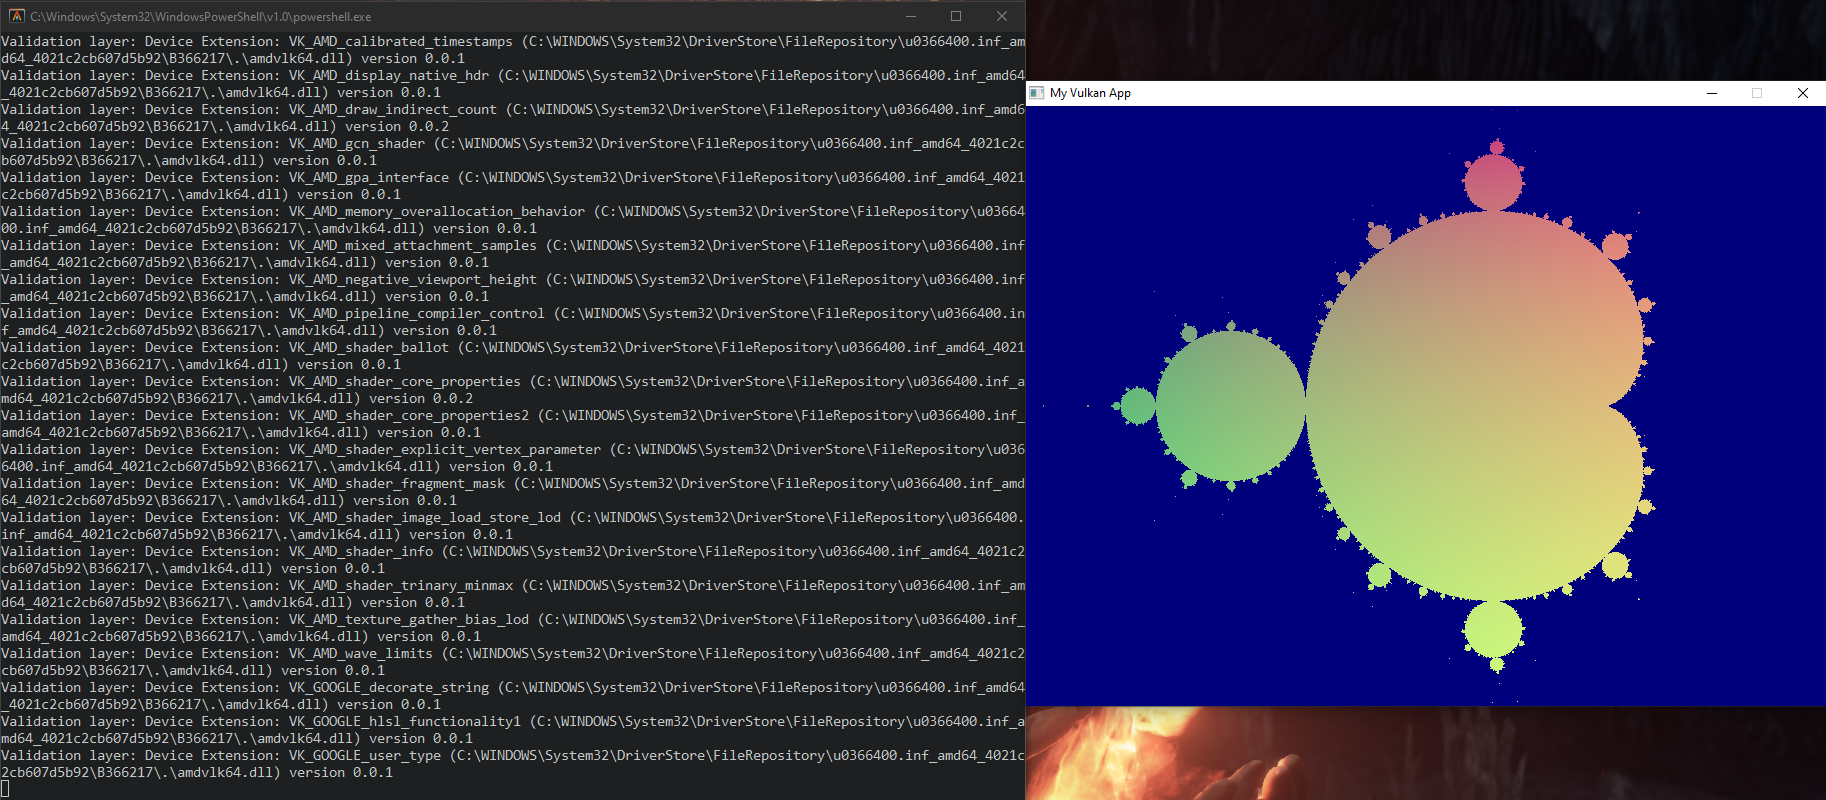
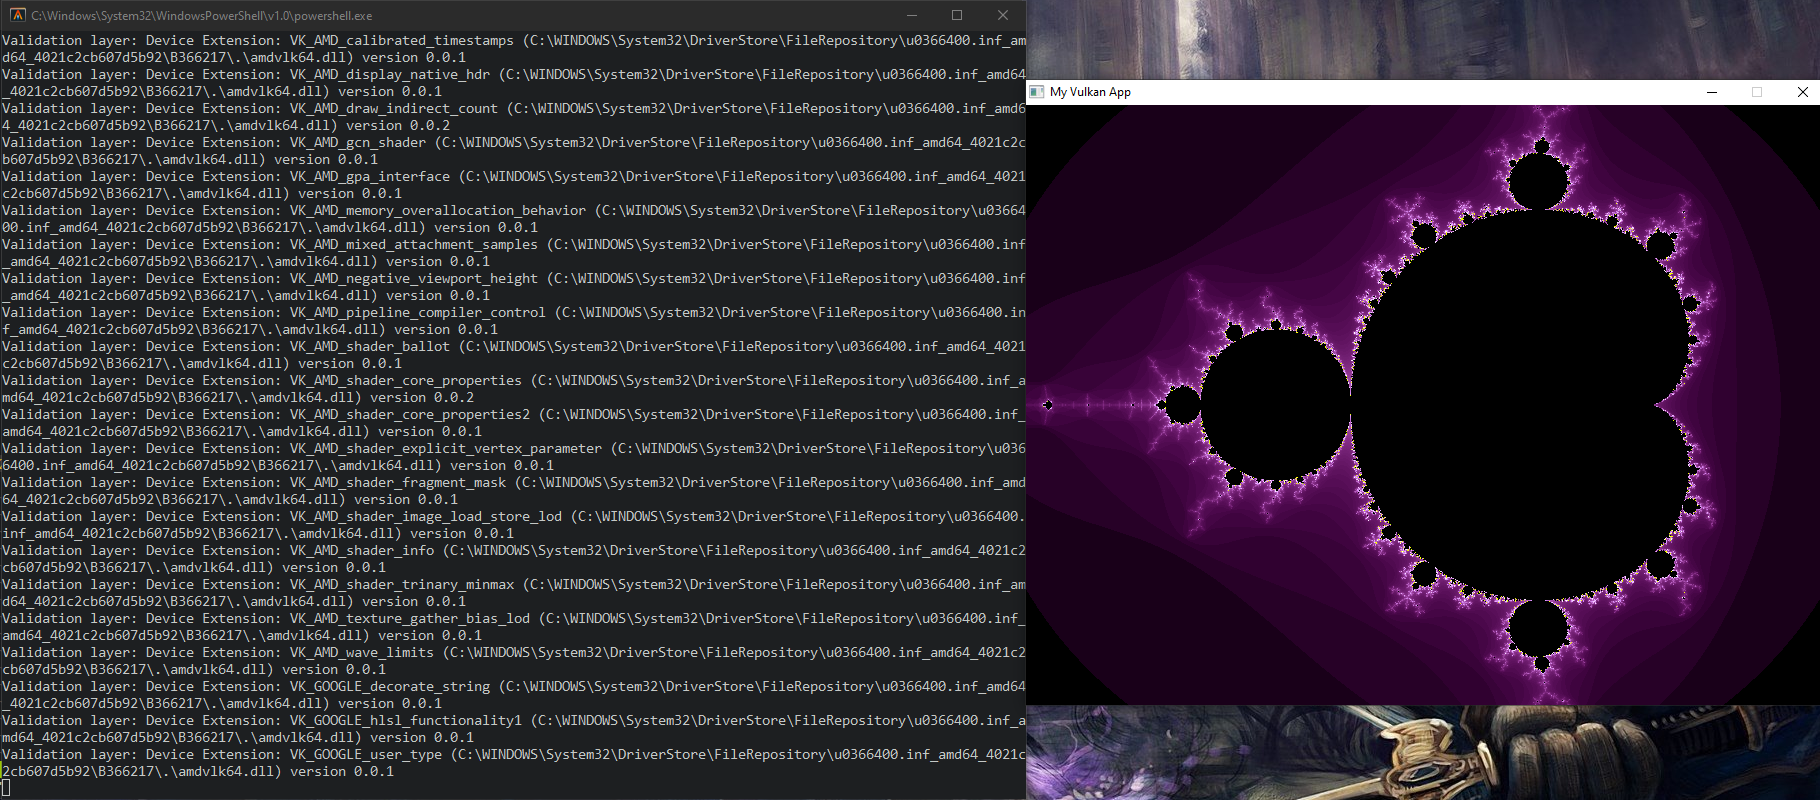
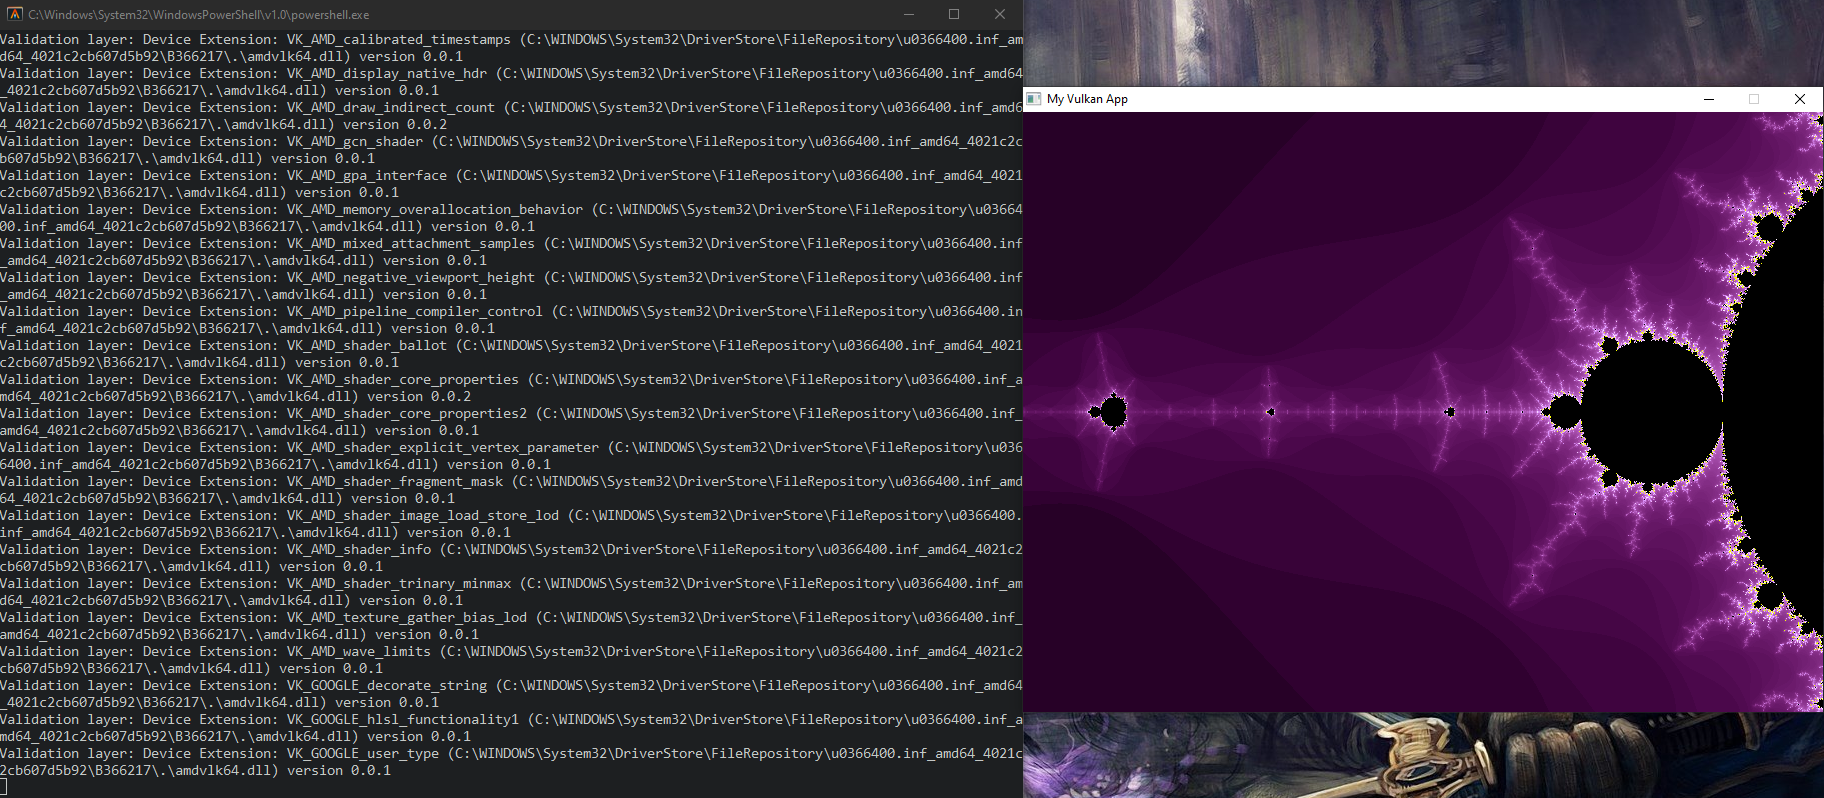
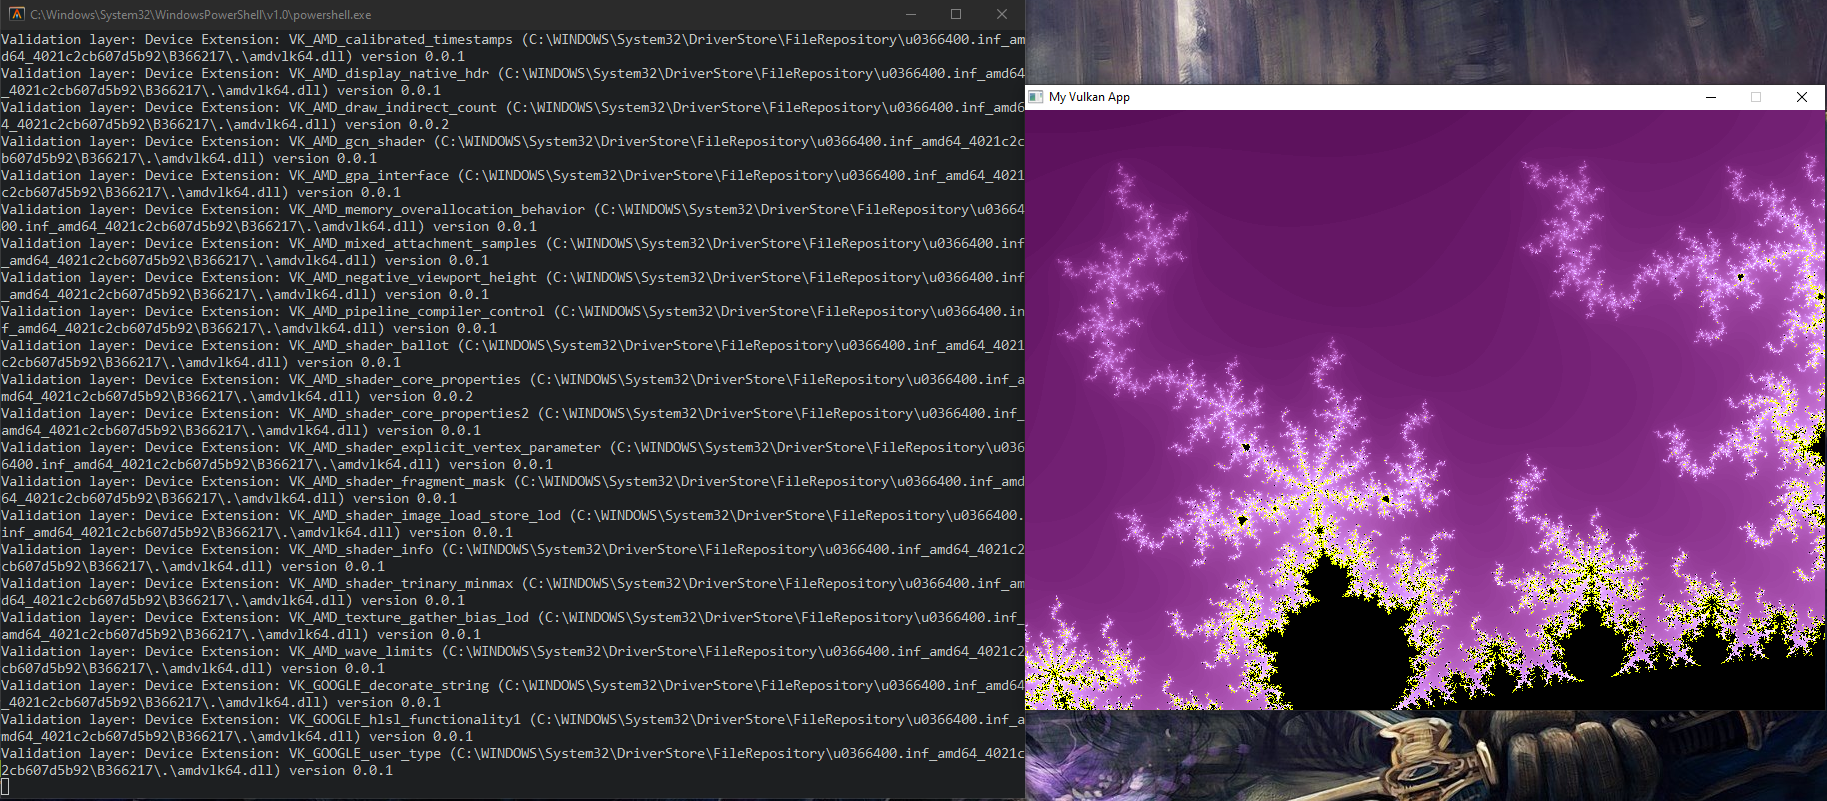
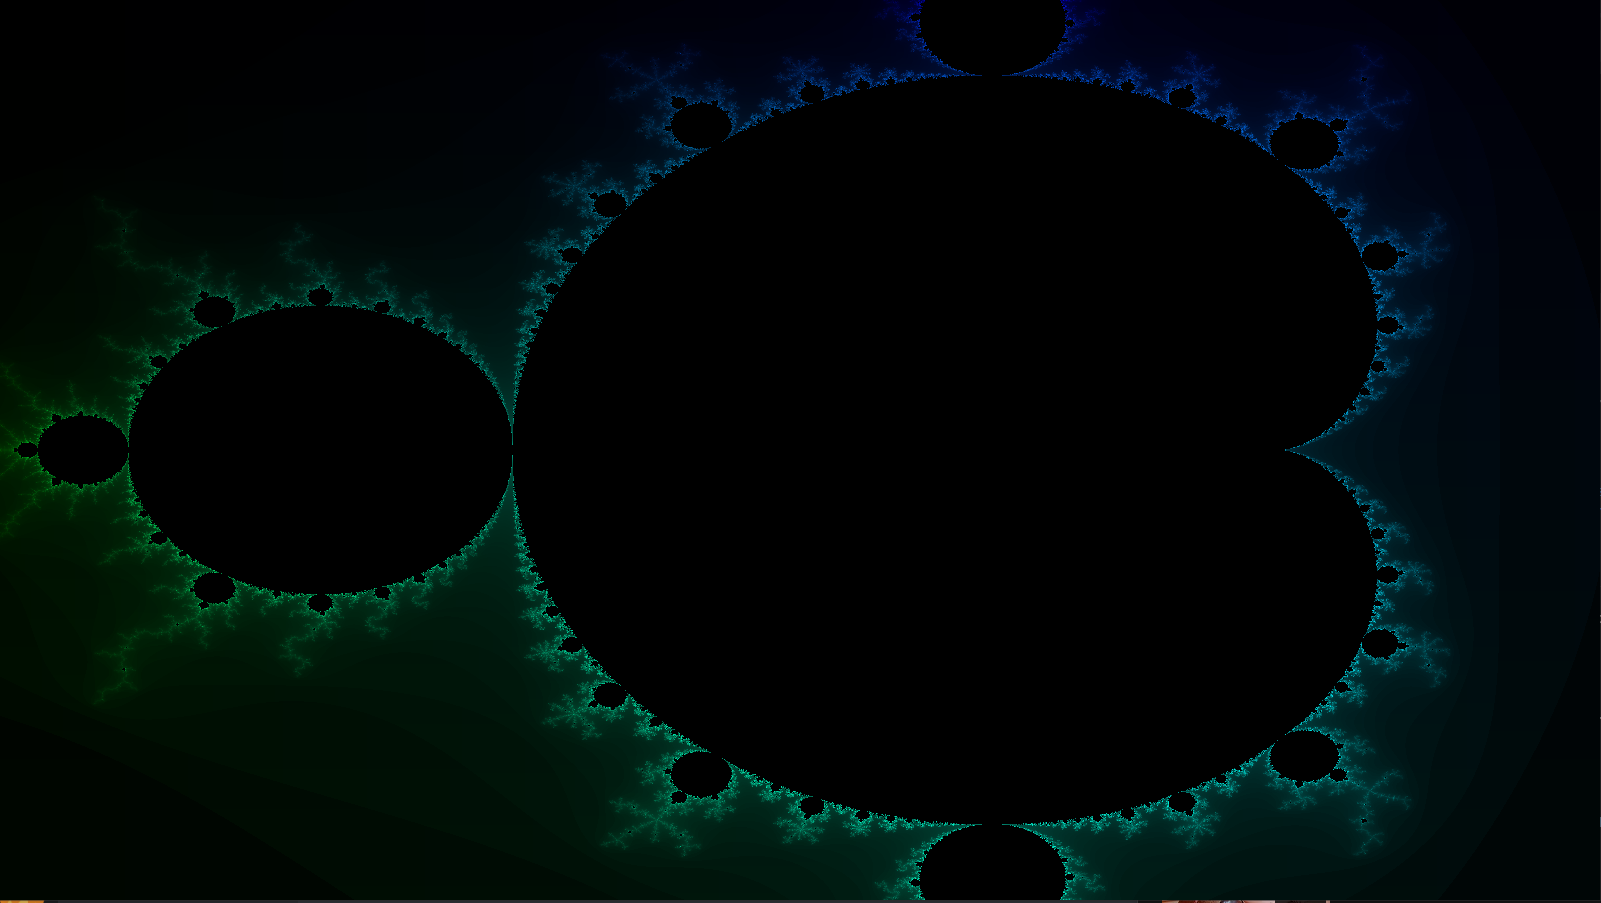
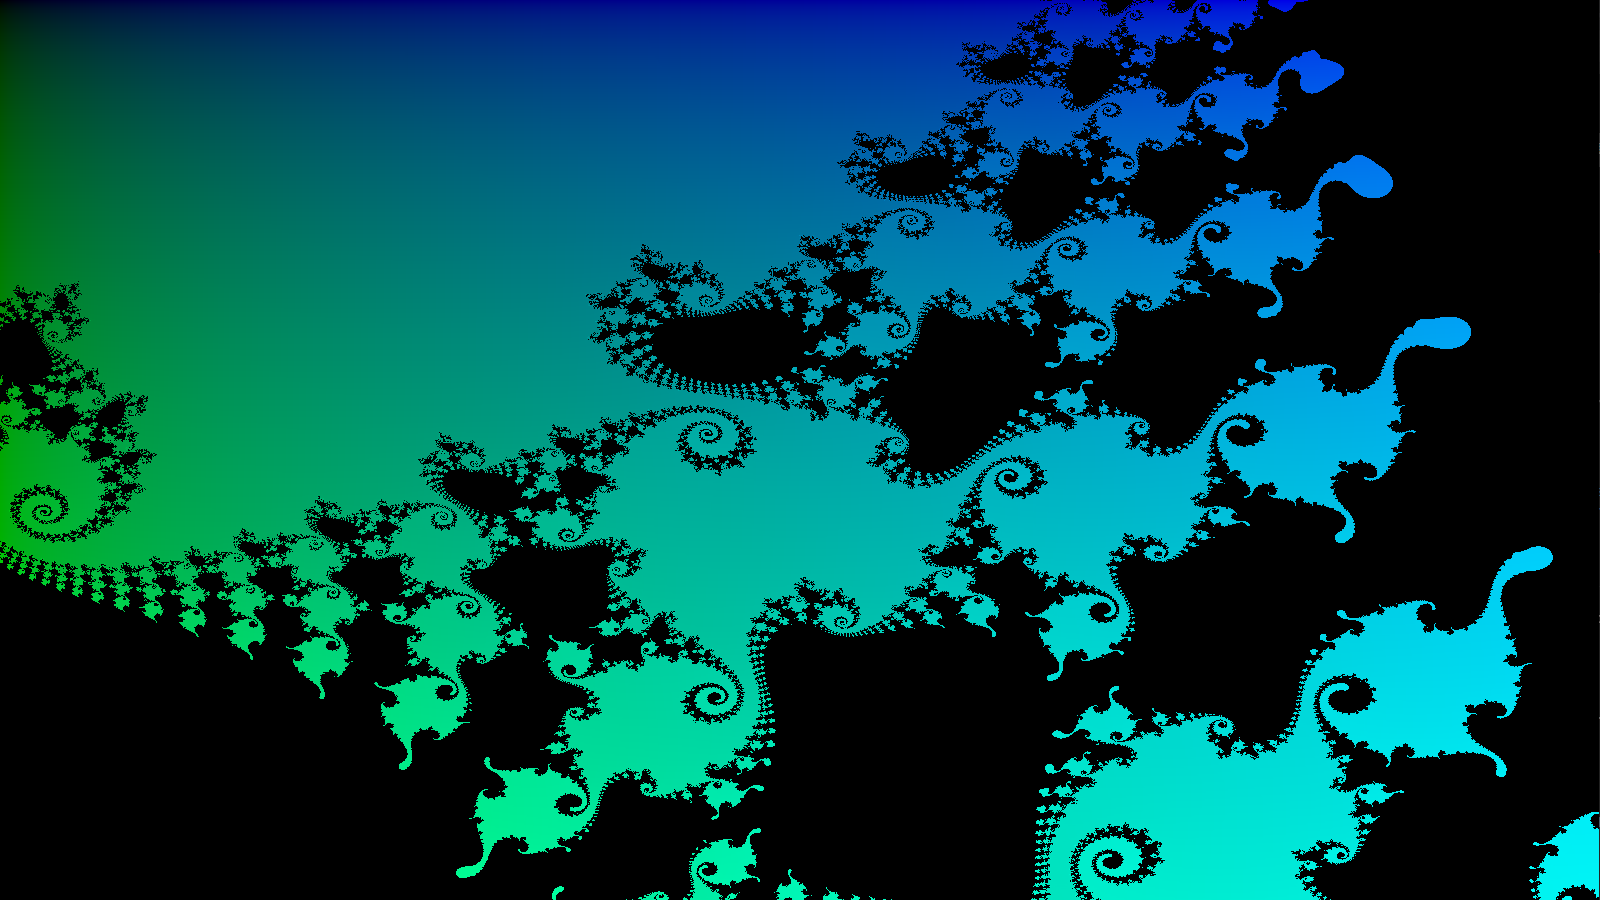
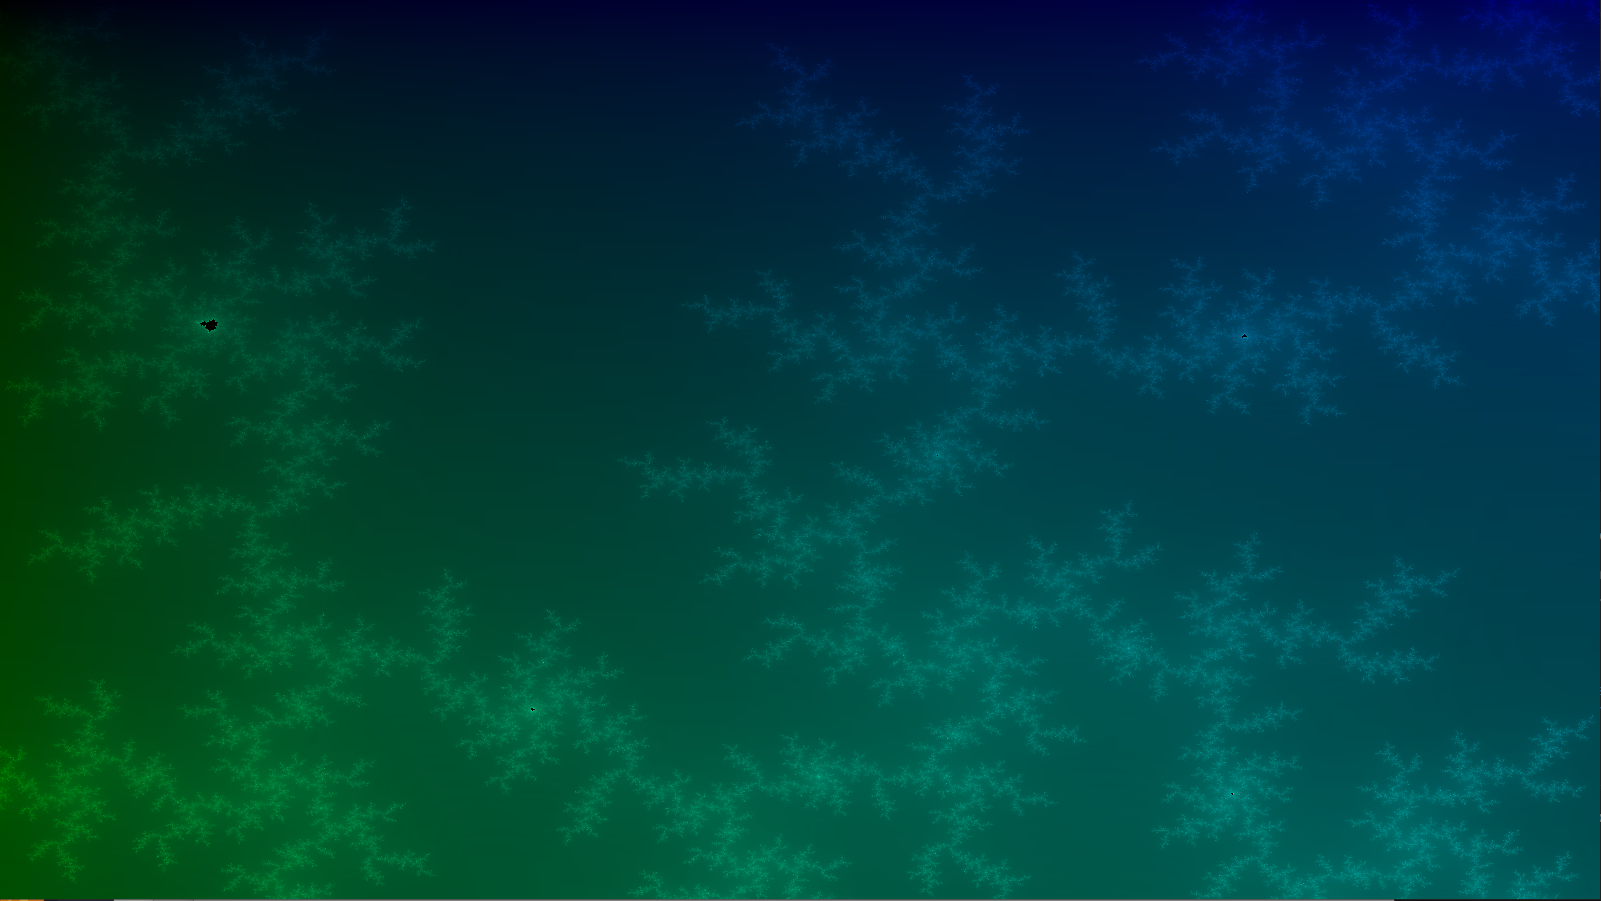
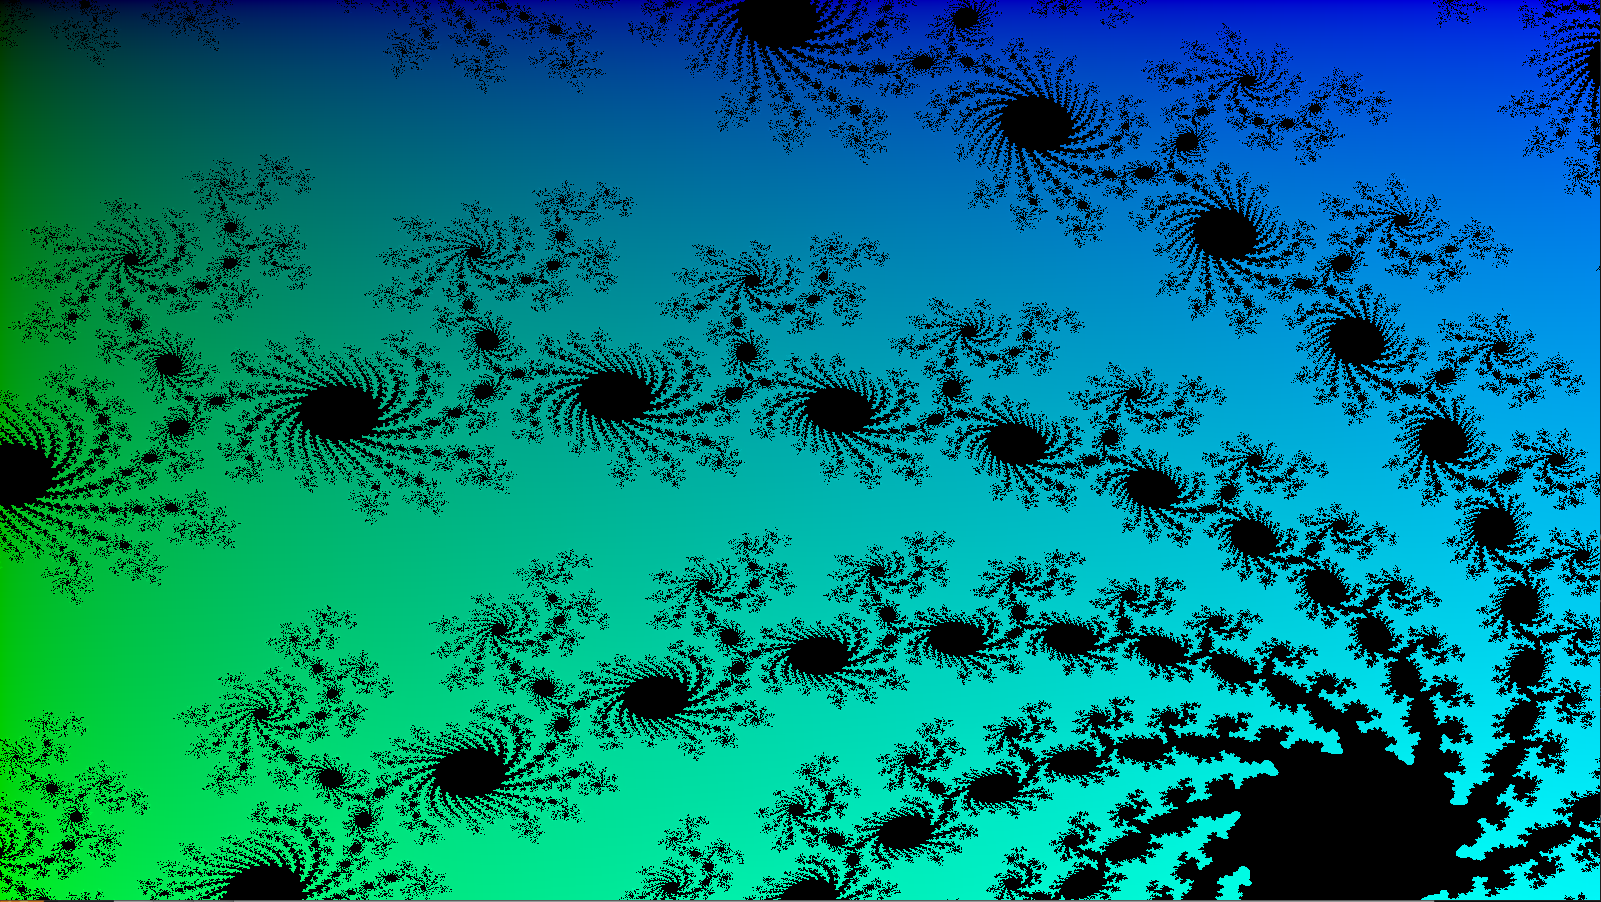
At first, to make sure everything was in order, I rendered a triangle with some color interpolation as they did in the tutorial I was following. After I was able to get everything working, I changed the triangle to a full screen quad to be able to test some pixel shader implementation (first one being mandelbrot set render)
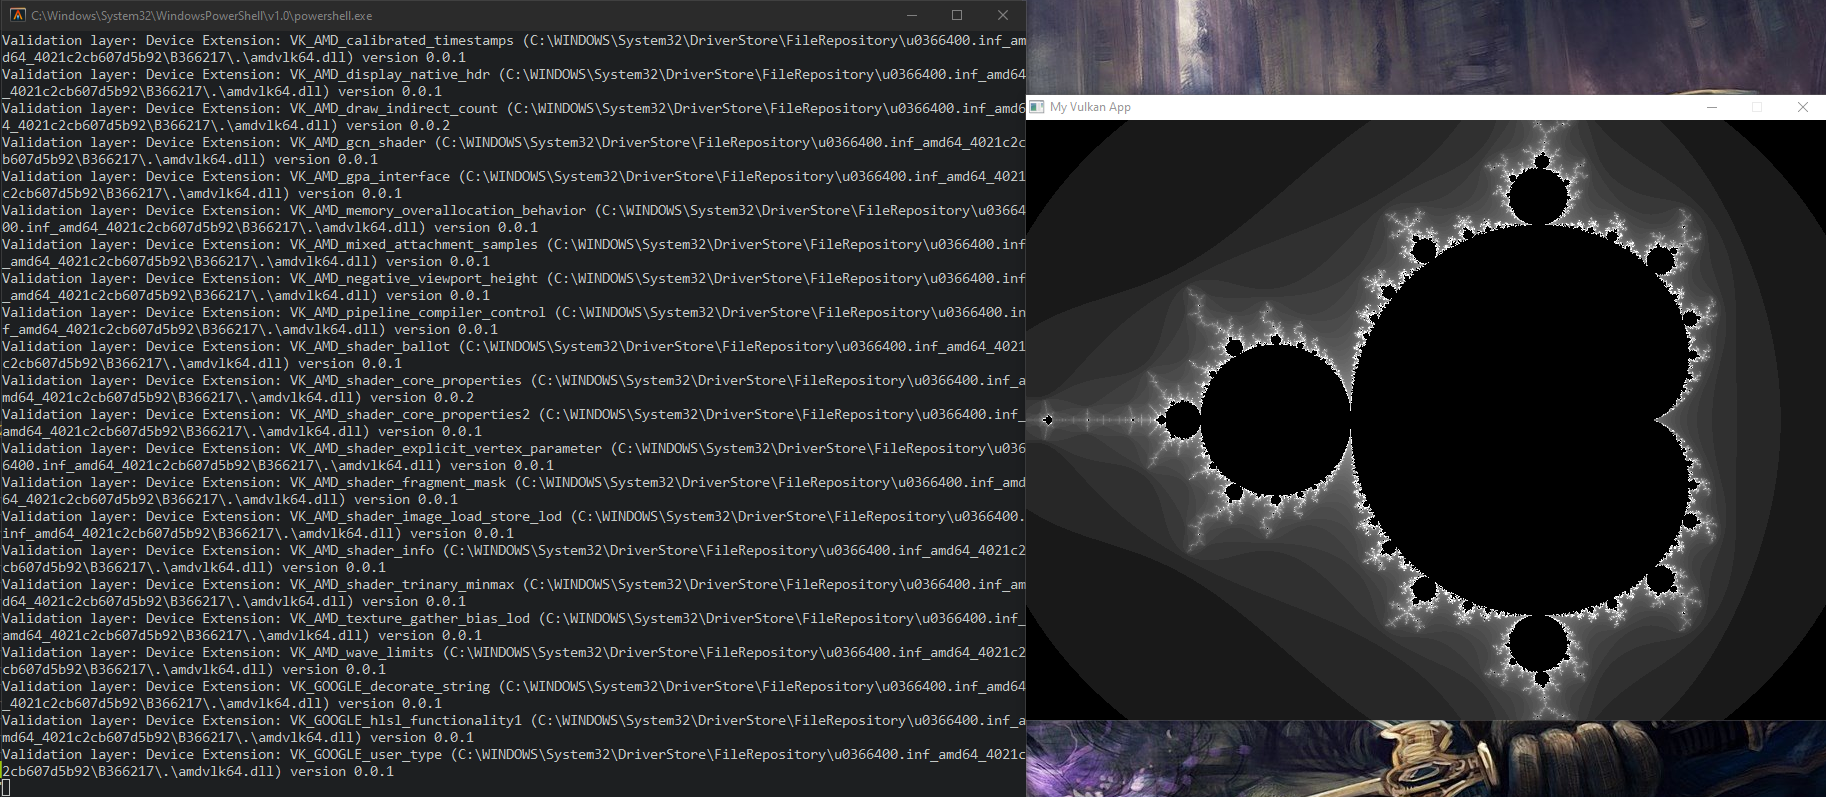
Quick Update: I added some descriptor set that I bound to the fragment shader stage to be able to control the position and the zoom of the rendered mandelbrot set! Some new screenshots added
Other Update: I finished the online tutorial that I was following. Went through steps to make sure we are double buffering frames (One frame presenting, one being drawn). Started looking at some other projects to try Vullkan with.
Here are some screenshots of the rendered results I was able to get:
